Repotting Orchids successfully
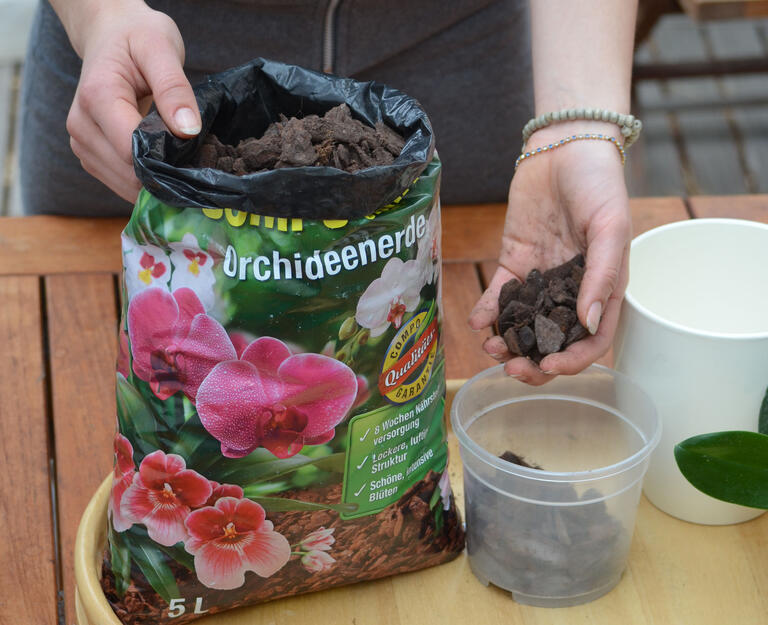
There are a few things to keep in mind when repotting orchids. Here, we’ll show you how to successfully put the precious plants into a new plant pot and why you should definitely use a special soil mix.

Moth orchid (Phalaenopsis hybrid)
Orchids are tropical epiphytes. They do not grow in conventional soil but on the branches of trees in the tropical rainforest. Orchids therefore do not take their nutrients from the soil but from raw humus deposits in tree crotches. During decomposition they release minerals which accumulate in the rainwater. For this reason, species such as Moth Orchids (Phalaenopsis hybrids) do not thrive in normal potting soil, but they require a special Orchid soil mix, which is similar to the substrate in the rainforest.
Orchids generally need repotting after two to three years because the roots need more space and fresh substrate. If the fleshy roots are taking up so much space that they are slightly lifting the plant out of the pot, it’s time to take action. Avoid repotting when the plant is in bloom, since flowering and taking root at the same time uses up a lot of energy for Orchids. For Phalaenopsis Orchids, which practically bloom non-stop and urgently need a larger pot, the flower stems are cut off during replanting so that the plant can use its energy to take root. The best seasons for repotting are spring and fall. For the Orchid roots to grow, it is important that the plant is bright enough and not too warm.
Besides the airy special soil, which is similar to bark mulch, Orchids need a translucent pot if possible. The roots are not only responsible for supplying the plant with water and minerals, but in good light they also produce their own chlorophyll, which is very beneficial for the growth of Orchids.


Now carefully pot the Orchid and thoroughly free the roots from the remains of the old substrate. You can rinse finer substrate crumbs from the roots under the tap with lukewarm water. Then cut off all dried and damaged roots with pointed scissors directly at the base.


Hold the prepared Orchid with thumb and forefinger between the leaf head and the root ball, because that is where the plant is least sensitive. Then fit the Orchid into the new pot and if necessary, underfeed it with some more substrate. The root neck should later be at about the level of the edge of the pot.


Now place the Orchid in the center of the new pot, taking care not to damage the roots in the process. Then fill in fresh substrate from all sides. Tap the pot lightly on the planting table several times and lift the orchid slightly at the root neck so that the substrate trickles into all the gaps.


Once the roots are anchored in the substrate, water the Orchid by dipping it once a week. The planter should be carefully emptied after each watering or dipping, so that the roots do not rot in the stagnant water.


